
Ridge Vent Metal Roof: Compatibility & Install Checklist
- 17 hours ago
- 10 min read
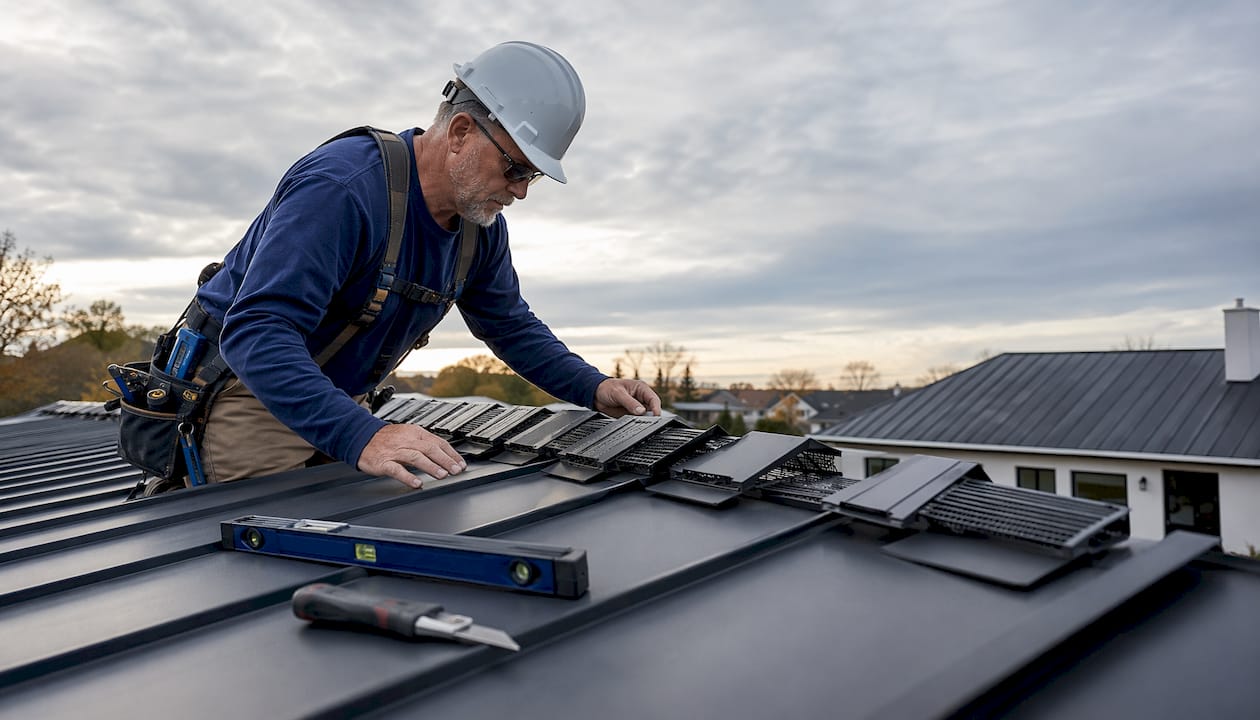
For most vented metal roofs, a continuous low-profile ridge vent paired with continuous soffit intake is the most reliable way to manage attic moisture and protect your panels long-term. The ridge vent exhausts warm, humid air that rises naturally to the peak, while soffit intake replaces it with fresh outside air, creating passive circulation without any moving parts. Before you order parts, confirm your panel profile and rib height so your closures and vent products are compatible. Metalwholesale carries matched accessories, including closure strips, sealants, and F-channel trim, ready for same-day pickup or fast regional delivery.
Best for most homes: Continuous low-profile ridge vent + continuous soffit intake
Primary goal: Moisture control, not just heat reduction
Key compatibility check: Panel profile (standing seam vs. ribbed) and rib height (1/2"–1-1/4")
Order tip: Buy closures, sealants, and fasteners together to avoid mid-job delays
What types of ridge vents work on a metal roof?
Not every vent product fits every metal panel. The five main categories each suit a different scenario.
Continuous roll vents are flexible polymer strips sold in 10’ or 20’ rolls. They conform to rib heights and are easy to cut in the field, making them the go-to choice for exposed-fastener ribbed panels. Rib height tolerances typically fall within a common range suitable for most products, so check the product spec sheet before ordering.
Manufactured vented ridge caps are factory-formed metal caps with built-in exhaust slots. They match the panel finish and profile, which keeps the roofline clean and avoids any field penetrations that could affect your warranty.
Low-profile factory ridge vents sit nearly flush with the panel surface. They work well on standing seam roofs where aesthetics matter and where the manufacturer requires a factory-compatible attachment method.
Custom-cut closure vents use foam or rubber closures shaped to the exact panel profile. When your panel geometry is unusual, a closure vent is often the only way to maintain a proper weather seal.
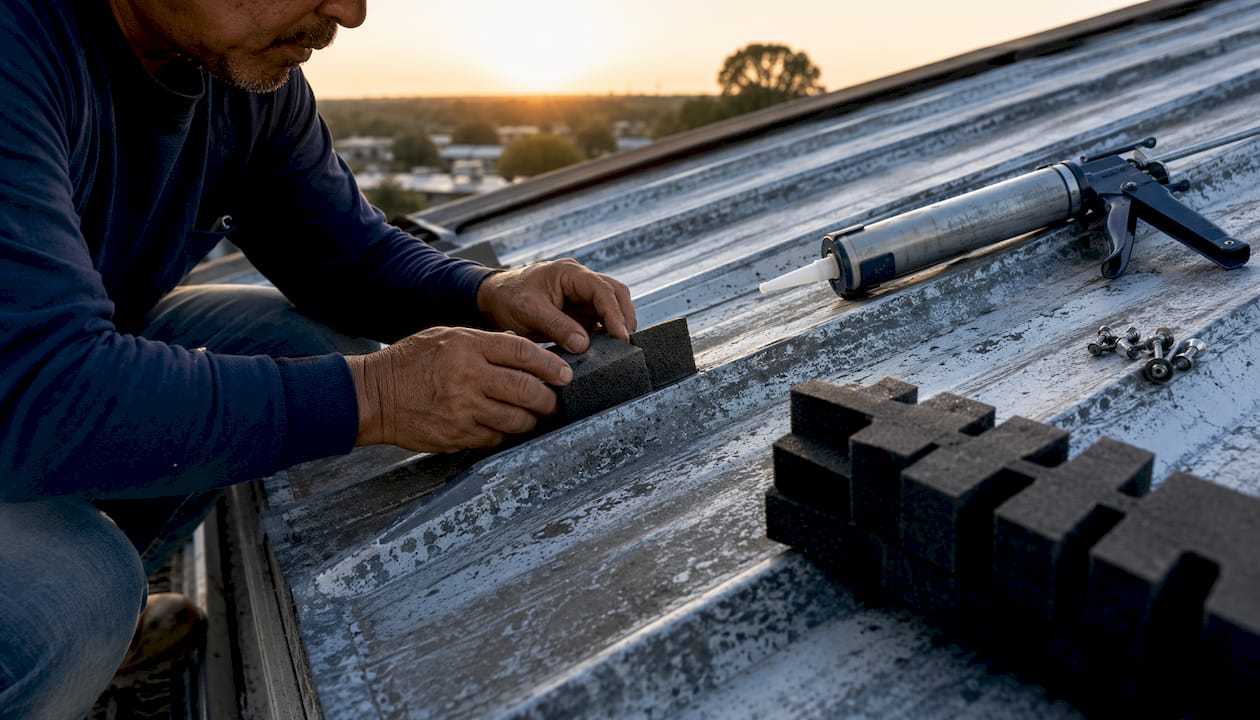
Baffle-style ridge vents include internal channels that keep insulation out of the airflow path and add a layer of protection against wind-driven rain entering the vent cavity.
Pro Tip: When your panel profile is non-standard or the rib height falls outside typical tolerances, choose a custom-cut closure vent rather than forcing a roll vent to fit. A poor seal at the ridge is one of the most common sources of callbacks.
Product Type | Best For | Typical NFVA (per linear foot) |
Continuous roll vent | Exposed-fastener ribbed panels | 9–12 sq in |
Manufactured vented ridge cap | All profiles, aesthetic priority | 12 sq in |
Low-profile factory ridge vent | Standing seam, warranty-sensitive | 12 sq in |
Custom-cut closure vent | Non-standard or unusual profiles | Varies by design |
Baffle-style ridge vent | High-wind or insulation-risk attics | 9 sq in |
Can you put a ridge vent on a metal roof, and when should you skip it?
Yes, most vented metal roofs benefit from a ridge vent, but the answer depends on your attic configuration, roof slope, and panel type. The vent only works when warm air has a clear path from the attic floor to the ridge and an equal amount of fresh air can enter at the soffits.
Ridge vents are appropriate when:
The attic is vented (not a closed, unvented assembly)
Roof slope is 3:12 or greater
Continuous soffit intake is present and unobstructed
The ridge runs the full length of the building or a substantial portion of it
Skip the ridge vent when:
Slope is under 3:12 (low-slope roofs don’t generate enough thermal draft)
The assembly is an unvented cathedral ceiling or spray-foam closed assembly
Soffit intake is blocked, absent, or severely undersized
The roof has multiple short ridges creating isolated attic pockets with no shared airflow path
HVAC exhaust or powered fans already pressurize the attic space
Profile compatibility at a glance:
Standing seam panels: Use factory-formed vented ridge caps or profile-matched closures to avoid field penetrations that can void the material warranty.
Exposed-fastener ribbed panels: Flexible roll vents or foam closure strips sized to the rib height within typical manufacturer-specified ranges work well and are easy to source.
Retrofit installs: Feasible on most profiles, but confirm the existing soffit intake capacity first. If the soffits are blocked by insulation or have never been baffled, fix that before adding ridge exhaust.
How do you size a ridge vent for a metal roof?
Sizing comes down to Net Free Area, or NFA, which is the actual open area through which air can move. The two most common code ratios are 1:150 (one square foot of NFA per 150 square feet of attic floor area, used when a vapor retarder is present) and 1:300 (one square foot per 300 square feet, used when at least 40% of the required NFA is in the upper portion of the attic). The International Residential Code and Energy Star attic ventilation guidance both reference these ratios.
Worked example: a typical attic size without vapor retarder using standard ratio
Calculate required total NFA based on attic size and standard code ratio
Split 50/50 between intake and exhaust: Evenly split required NFA between intake and exhaust vents
Determine required length of ridge vent based on product NFA per linear foot
Confirm your soffit vent delivers at least 720 sq in of NFA total across all intake points
Tables illustrating NFA requirements and approximate vent lengths based on attic area and standard ratios, without specific numeric details
Pro Tip: Always verify the NFA per linear foot on the specific product spec sheet, not a generic estimate. Values vary by manufacturer and vent design.

Balanced intake and exhaust matter more than total vent area alone. When intake is starved, a ridge vent can actually pull conditioned indoor air into the attic rather than exhausting attic moisture, which makes the problem worse. Confirm your soffit NFA matches or exceeds your ridge NFA before finalizing the order.
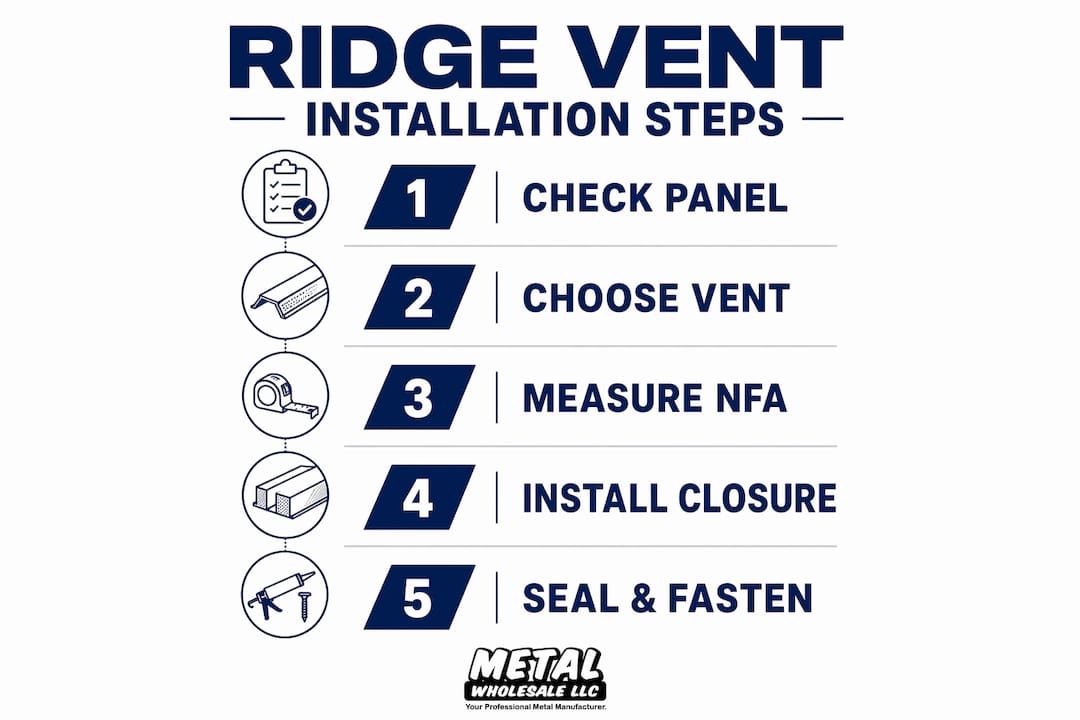
Step-by-step installation checklist for ridge vents on metal roofs
Pre-installation checks
Verify attic air-sealing is complete at the top plates and around penetrations.
Confirm soffit intake NFA meets or exceeds the calculated ridge exhaust NFA. Install baffles at eaves if insulation risks blocking the intake channel.
Measure the full ridge length and note any breaks, hips, or valleys.
Identify panel profile and rib height to confirm vent product compatibility.
Installation sequence
Snap a chalk line centered on the ridge to mark the cut or closure zone.
For exposed-fastener panels: cut the vent slot per manufacturer specs using aviation snips or a circular saw with a metal-cutting blade. Deburr all cut edges.
For standing seam: do not field-cut the seam profile. Use a factory-compatible vented ridge cap or closure system.
Set the closure strips or roll vent over the slot, pressing firmly into the panel ribs.
Apply a compatible non-hardening sealant along the vent edges per the manufacturer’s instructions. Use only sealants rated for metal roofing.
Fasten the vent and ridge cap with manufacturer-specified fasteners. Follow torque specs closely — overtightening crushes the vent and undertightening allows wind uplift.
Install the ridge cap over the vent, lapping it per the manufacturer’s overlap requirement.
Inspect every fastener, seam, and sealant line before leaving the roof.
Safety and tools
Fall protection is required on any roof pitch. Use a harness and anchor system rated for the load.
Metal edges are sharp after cutting. Wear cut-resistant gloves and eye protection.
Keep electrical tools away from wet panels and standing water.
Recommended tools: aviation snips, metal-cutting circular saw blade, caulk gun, torque-limiting screwdriver or impact driver with depth stop.
Pro Tip: Never field-drill through a standing seam profile to attach a vent. Use factory-compatible closures or low-profile caps instead. A single unauthorized penetration can void the panel warranty and create a leak point that’s difficult to trace.
Safety reminder: Ridge work requires a full fall-protection system. Confirm your anchor points before stepping onto the roof, and never work on wet or frost-covered metal panels.
How do you prevent leaks and protect your warranty?
Leaks at ridge vents are almost always an installation error, not a product defect. Missing closure strips, incorrect fastener placement, and damaged ridge cap detailing account for the majority of callbacks.
Weatherproofing checklist:
Use closure strips matched to the panel profile at every vent termination
Apply non-hardening, metal-roof-compatible sealant at all vent-to-panel interfaces
Select fasteners specified by the vent manufacturer; never substitute with generic screws
Choose wind-storm-rated vent products in high-wind zones (check local building codes)
Install underlayment continuously under the ridge area before setting the vent
Warranty red flags to avoid:
Unauthorized field penetrations through panel seams, use of hardening or incompatible sealants, incorrect fastener torque, and installation of non-approved accessories are the most common actions that void metal roofing material warranties. Always check the manufacturer’s warranty documentation before cutting or fastening. Keep a copy of the product spec sheet, installation photos, and fastener receipts on file.
For more on warranty-backed products and what manufacturers require, Metalwholesale’s resource library covers the key documentation installers need.
What are the most common ridge vent mistakes, and how do you fix them?
Most problems trace back to a handful of repeatable errors. Catching them early saves a second trip to the roof.
Common mistakes:
Undersized soffit intake: The single most frequent failure. Ridge vents can’t exhaust effectively without matching intake. Measure NFA on both sides before ordering.
Blocked soffits: Insulation pushed to the eave during an attic upgrade is a silent killer of ventilation performance. Add baffles at every rafter bay.
Mixing vent strategies: Adding powered exhaust fans or open gable vents alongside a ridge vent creates airflow short-circuits that pull moist indoor air into the attic instead of exhausting it.
Missing closure strips: Leaving gaps between the vent and panel ribs invites pests, debris, and wind-driven rain.
Wrong fasteners or overtorquing: Crushes the vent body or strips the panel, both of which create leak paths.
Insulation blocking the air channel: Even a partial blockage at the ridge dramatically reduces effective NFA.
Troubleshooting checklist:
Confirm the airflow path is clear from soffit to ridge with a flashlight and mirror
Check for condensation on rafters or sheathing, which signals inadequate exhaust or blocked intake
Inspect ridge cap seams and closure edges after the first heavy rain
Recalculate NFA if condensation persists after the initial install
Pro Tip: If you’re seeing persistent condensation after correcting the intake, check whether any HVAC exhaust ducts terminate in the attic. A single improperly terminated bath fan can overwhelm a correctly sized passive vent system.
When to call a professional: active leaks that persist after re-sealing, complex multi-ridge geometries where airflow paths are hard to trace, or any situation where the attic shows signs of mold or structural moisture damage. See Metalwholesale’s guide on common metal roofing mistakes for a broader checklist.
Why Metalwholesale is the right source for ridge-vent accessories
Getting the vent right starts with getting the parts right. Metalwholesale manufactures and distributes warranty-backed metal roofing accessories with same-day pickup available through regional facilities and local lumberyard partners across the Midwest, so you’re not waiting on a two-week lead time when a job is already scheduled.
What Metalwholesale stocks for ridge-vent installs:
Metal roof sealant compatible with metal panel surfaces and vent materials
1/2" F-channel for edge finishing and closure transitions
F&J trim for ridge cap terminations and matched panel closures
Matched fasteners specified for metal-to-metal and metal-to-wood applications
Installer support and certified dealer referrals for compatibility questions
Ordering closures, sealant, and fasteners together from one source reduces the risk of incompatible products and speeds up the install. If you’re unsure which closure profile fits your panel, Metalwholesale’s dealer network can confirm compatibility before you order.
Pro Tip: Order a few extra linear feet of closure strip and a backup tube of sealant. Running short mid-install on a ridge job means stopping work and waiting for delivery, which costs more than the extra material.
Key Takeaways
A ridge vent on a metal roof works reliably only when the vent product matches the panel profile, the NFA math is correct, and soffit intake equals or exceeds ridge exhaust capacity.
Point | Details |
Match vent to panel profile | Standing seam needs factory caps or closures; ribbed panels accept flexible roll vents sized to rib height. |
Run the NFA math first | Use the 1:150 or 1:300 ratio to calculate required NFA before ordering any vent product. |
Balance intake and exhaust | Soffit intake NFA must equal or exceed ridge exhaust NFA, or the vent system will underperform. |
Avoid warranty-voiding actions | No unauthorized field penetrations, incompatible sealants, or off-spec fasteners on warranted panels. |
Order from Metalwholesale | Matched sealants, F-channel, and closure strips available for same-day pickup through regional dealers. |
What experienced installers know that most guides skip
The ventilation math is the easy part. What actually separates a clean install from a callback job is the soffit check that happens before anyone touches the ridge.
Most installation failures don’t start at the ridge. They start at the eave, where insulation has quietly crept into the soffit channel over years of attic work. You can install a perfectly sized ridge vent on a perfectly matched panel profile and still end up with condensation problems six months later, because the intake was never actually delivering the airflow the math assumed. The fix is simple: pull back the insulation at several rafter bays, confirm the channel is clear, and add baffles wherever there’s any doubt. Do that before the ridge work starts, not after.
The other edge case that catches crews off guard is the multi-ridge building. When a structure has several short ridges serving isolated attic pockets, a single continuous ridge vent won’t balance the whole attic. Each pocket needs its own intake-to-exhaust calculation, and sometimes the geometry makes a ridge vent impractical for one section entirely. In those situations, a combination of ridge venting on the main ridge and static vents on the secondary ridges often works better than forcing a continuous solution onto a non-continuous attic.
One more thing worth saying plainly: coordinate with whoever installed or maintains the HVAC before you finalize the vent design. A bath fan or dryer duct terminating inside the attic adds moisture load that passive venting alone may not handle. That’s not a roofing problem, but it shows up as one.
Get ridge-vent accessories fast from Metalwholesale

Metalwholesale gives contractors and installers a faster path from spec to install. Instead of sourcing sealant from one supplier, closures from another, and fasteners from a third, you can pull everything you need from one order, with same-day pickup available at regional locations and local lumberyard partners across the Midwest.
Pick up metal roof sealant, 1/2" F-channel, closure strips, and matched fasteners, all specified for metal roofing applications. If you need help confirming which closure profile fits your panel, the Metalwholesale dealer network can verify compatibility before you commit to an order. Contact Metalwholesale today to check part availability, confirm profile compatibility, or get connected with a certified installer in your area.

Comments